
How to assemble ikea kitchen cabinets
July 30, 2025
IKEA Kitchen Cabinet Price List
August 16, 2025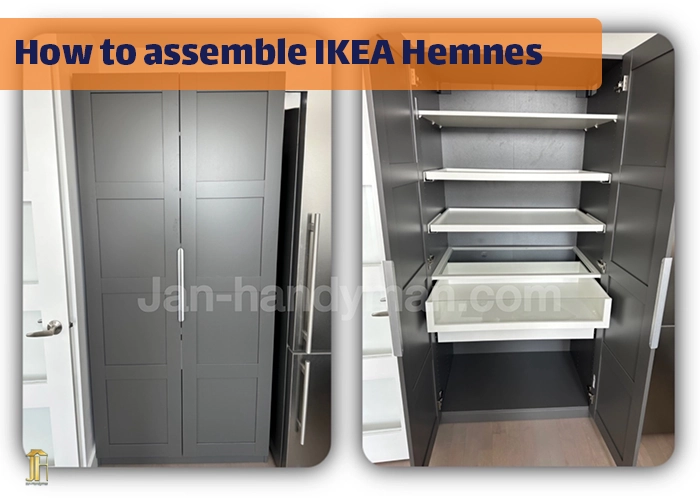
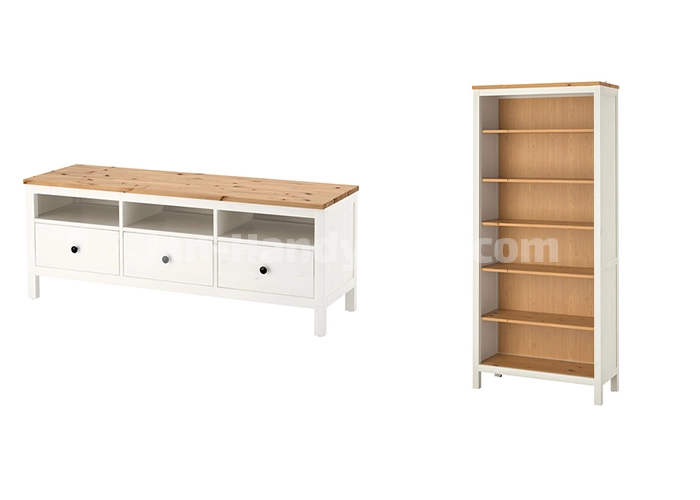
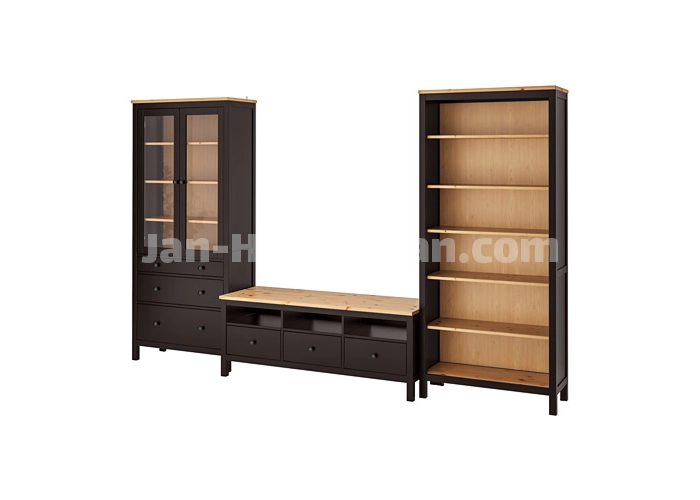
To assemble an IKEA HEMNES cabinet, start by laying out all the parts, follow the included step-by-step instructions, and carefully secure each piece using the provided hardware.
Below, Jan Handyman walks you through the full process to ensure your HEMNES cabinet is assembled correctly, safely, and with a professional finish.
Whether you’re a DIY enthusiast or working with a trusted IKEA HEMNES cabinet assembler and installer near me, this guide will help make your project smooth and successful.
Kitchen Cabinet Installer Montreal
Step 1: Unpack and Organize
Start by unboxing your IKEA HEMNES cabinet and organizing all the components.
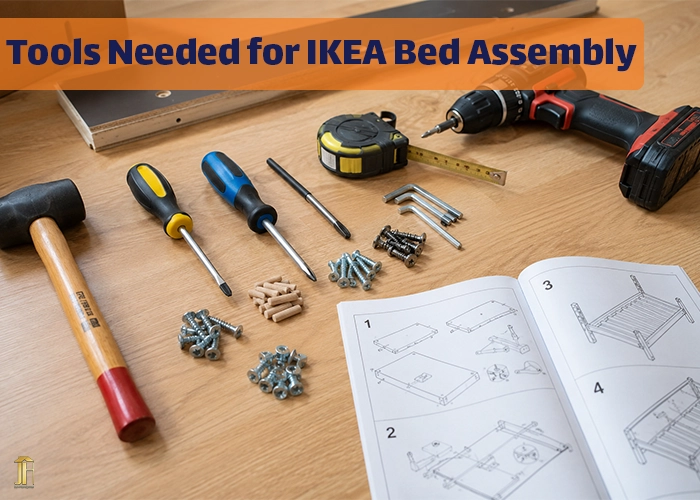
Tools You’ll Need:
- Phillips screwdriver
- Small hammer or rubber mallet
- Allen key (often included)
- Soft surface or blanket to prevent scratches
An experienced IKEA assembler near me will ensure no parts are missing and that everything is laid out properly before getting started.
Step 2: Read the Instructions
IKEA’s instruction manuals are visual and step-by-step. Take time to review them before you begin.
Pro Tips:
- Look through the entire instruction booklet once.
- Match the hardware with the parts list.
- Identify each panel by its shape and drilled holes.
A professional IKEA assembler near me will quickly recognize how the pieces fit together and avoid common mistakes.
Step 3: Begin Assembly
Start building the frame of the cabinet.
- Attach side panels to the bottom.
- Insert dowels and cam locks securely.
- Use light pressure to avoid damaging wooden dowels.
- Tighten hardware just enough—don’t overtighten.
Working with a skilled IKEA assembler Montreal ensures that every joint is properly aligned and tight.
Step 4: Install the Back Panel
Once the frame is assembled, it’s time to install the back panel.
- Slide or tack the back panel into place (depending on model).
- Make sure it’s square and aligned.
- Nail it down gently but securely.
A misaligned back panel can affect the entire cabinet’s stability, so this step is key—another reason many choose to hire an IKEA assembler near me.
Step 5: Add Doors, Drawers, and Shelves
Now that the structure is up, finish your cabinet:
- Attach door hinges and hang doors evenly.
- Slide drawer glides into place and assemble drawers.
- Install adjustable shelves according to your needs.
A professional IKEA HEMNES cabinet assembler and installer near me will fine-tune drawer alignment and door spacing for a clean and balanced appearance.
Step 6: Secure and Finish
Once assembled:
- Make sure all hardware is tightened.
- Check that drawers slide smoothly and doors close flush.
- Clean up sawdust or packaging debris.
If the HEMNES cabinet will hold heavy items or be placed on carpet, consider anchoring it to the wall. Most IKEA assembler Montreal will handle this for safety.
Final Touches
- Add soft-close dampers if desired.
- Apply felt pads under legs to protect floors.
- Style your new HEMNES cabinet with decor or storage bins.
Conclusion
Whether you’re assembling it solo or working with a trusted IKEA assembler Montreal, putting together an IKEA HEMNES cabinet is a satisfying project. With careful steps and a little patience, you’ll have a beautiful piece of furniture that’s both functional and stylish.
If you’d rather skip the stress, hiring a local IKEA HEMNES cabinet assembler and installer near me ensures your cabinet is built fast, level, and long-lasting. Either way, your new HEMNES cabinet will be a great addition to your home.